「HomeLab系列」Version2
简介
本文内容最初记录于2017年6月,整理并发布于2021年10月
硬件升级
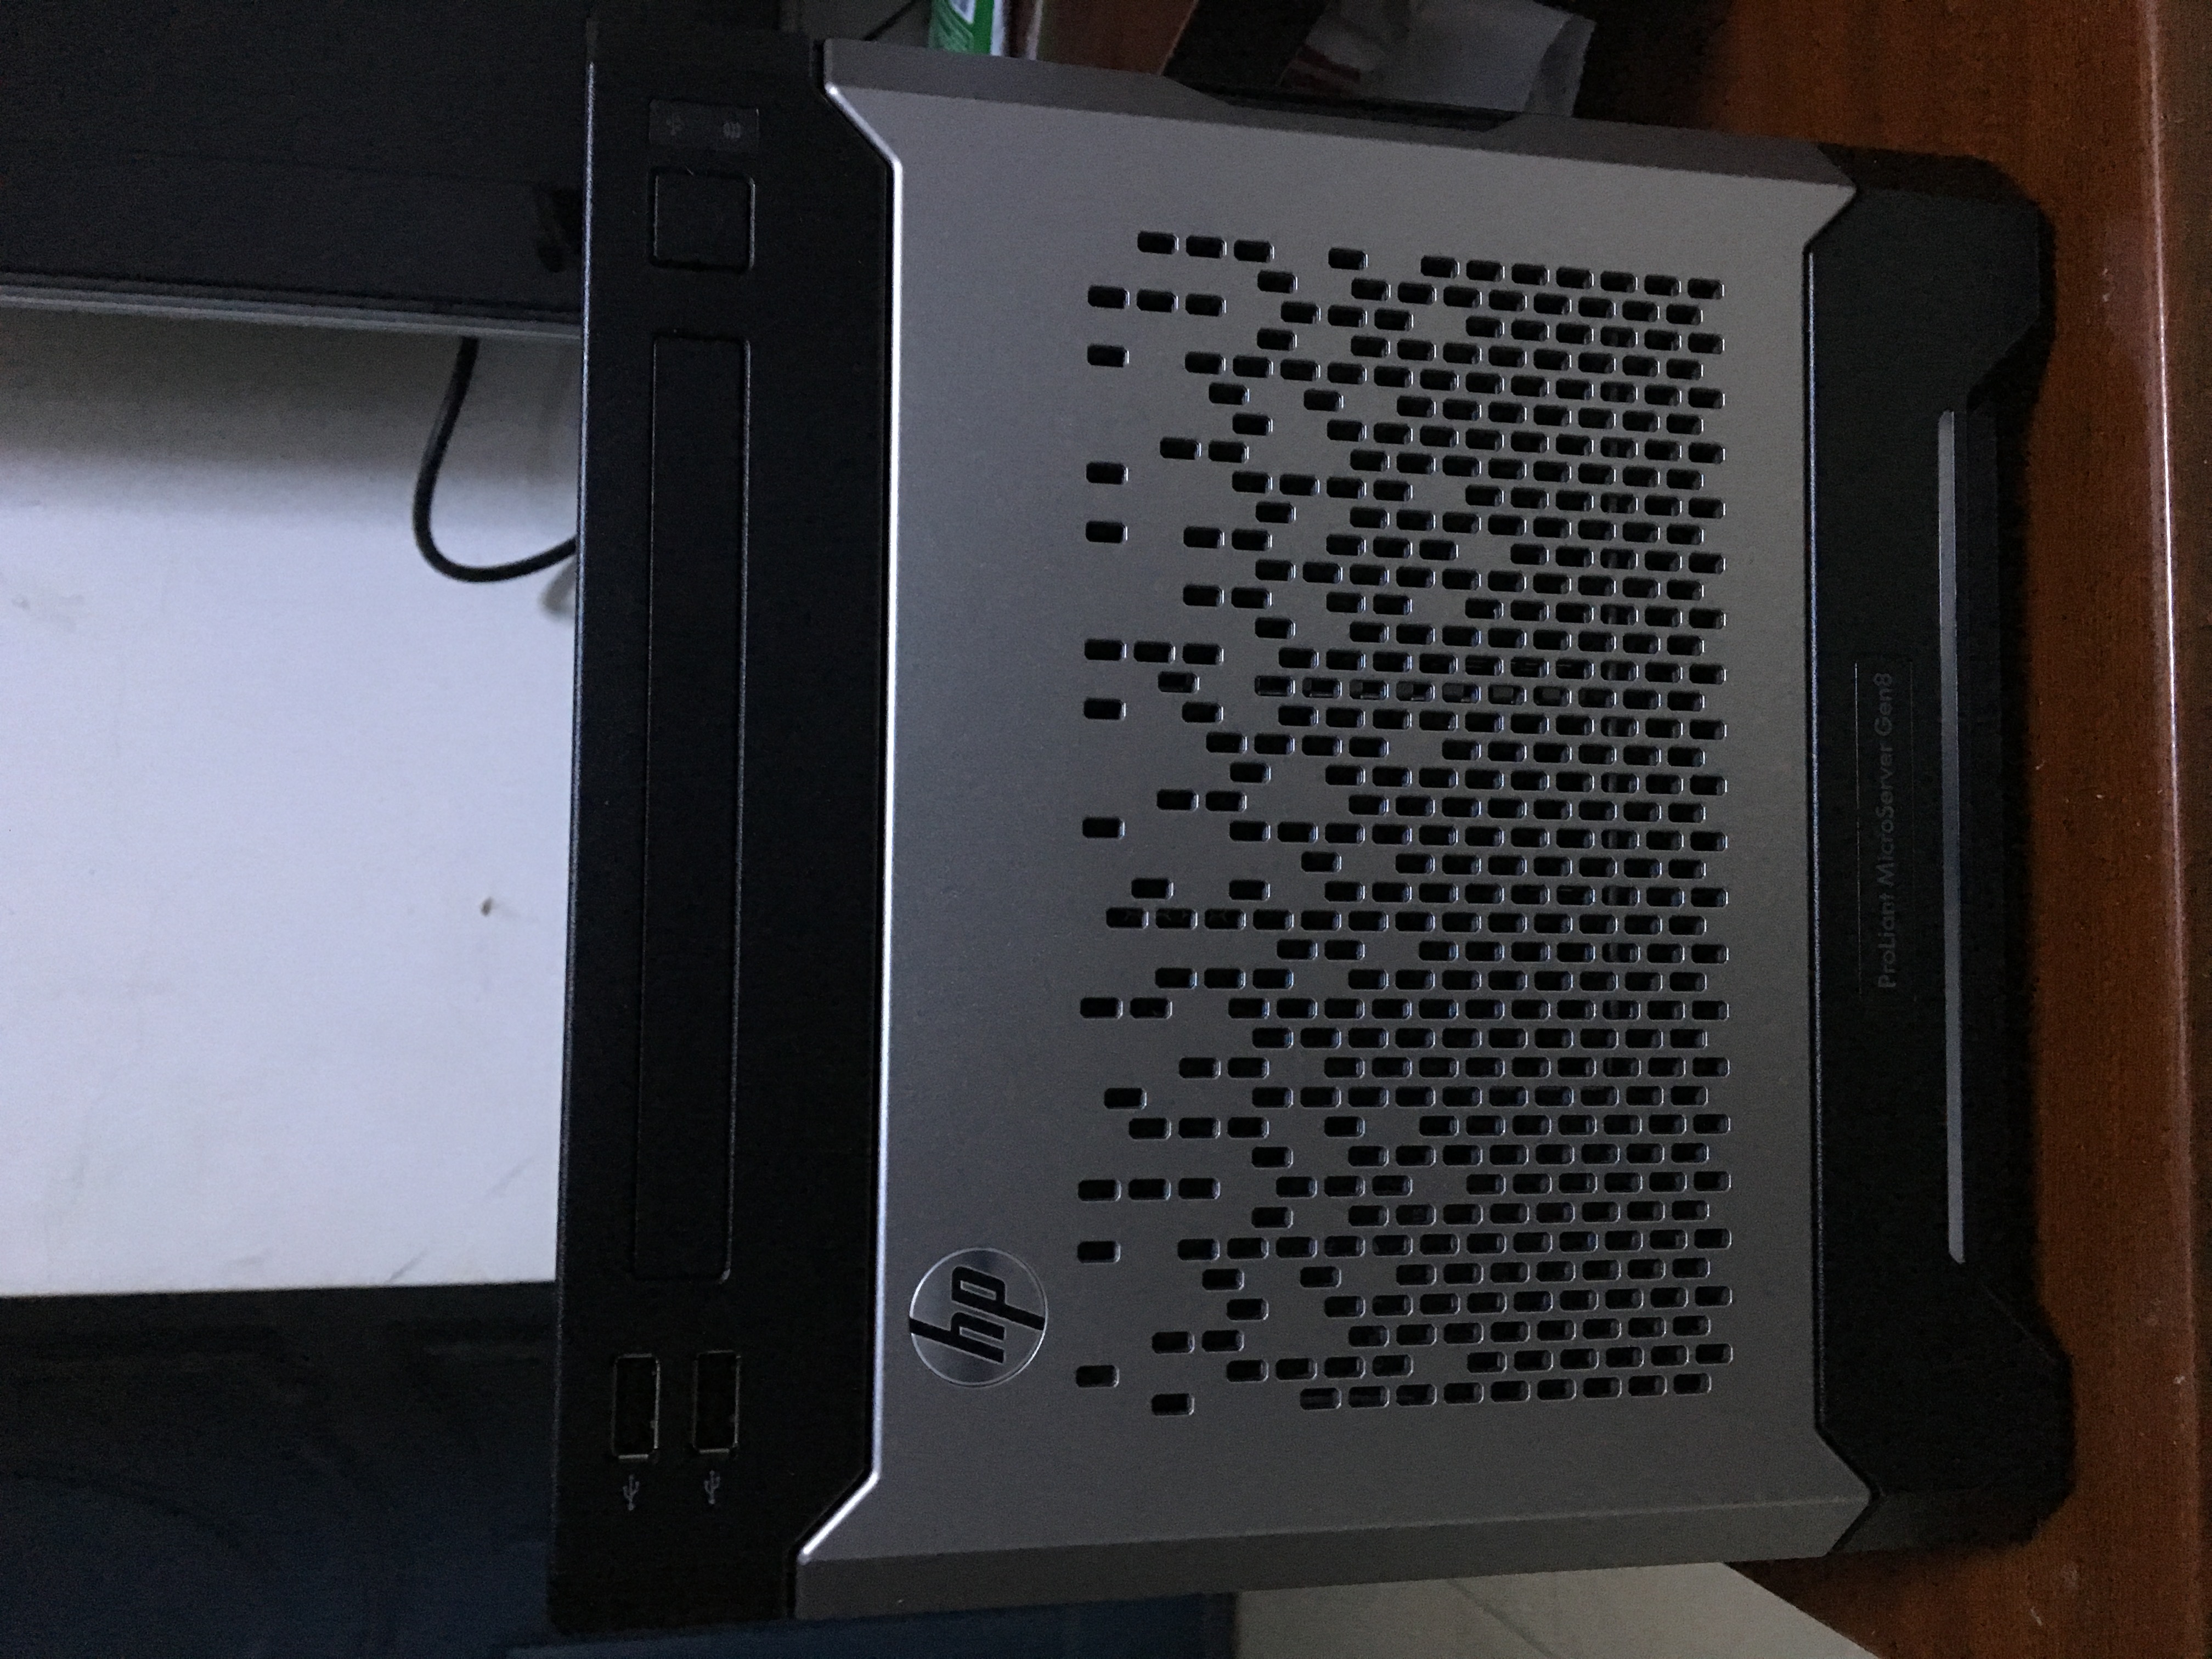
16年1月从computeruniverse海淘了HP新款微服务器,由原来的HP N54L升级为HP Gen8 Microserver。

引导SD卡制作
由于Gen8无法直接引导Sata1-4的操作系统,所以需要按如下步骤制作一张grub4dos的TF卡启动盘,然后间接引导操作系统启动
1) 在DiskGenius(<http://www.diskgenius.cn/download.php>)中格式化TF卡为NTFS格式。
2) 在DiskGenius中将TF卡“重新建立主引导区”,并且激活当前分区,然后关闭Diskgenuis软件;
3) 运行BOOTICE软件([http://bbs.wuyou.net/forum.php?m ... 7232&extra=page%3D1](http://bbs.wuyou.net/forum.php?mod=viewthread&tid=367232&extra=page%3D1)),将TF卡的分区引导记录设置为grub4dos0.4.6a。
   具体操作:打开BOOTICE软件,选择你的TF卡(别报错选中本地硬盘),点击“分区引导记录(P)”-->选择“GRUB4DOS0.4.5c/0.4.6a(FAT/FAT32/NTFS/ExFAT)"-->点击”安装/配置(S)“-->选择“0.4.6a"-->点击”确定“-->点击”确定“。
4) 下载grub4dos(<http://grub4dos.chenall.net/>,最新版本是grub4dos-0.4.6a-2015-09-15.7z),解压后把“grldr”文件复制到TF卡根目录;
5) 在TF卡根目录下创建menu.lst文件,编辑文件内容如下(注意要保存为UTF-8格式):
- # This is a sample menu.lst file. You should make some changes to it.
- # The old install method of booting via the stage-files has been removed.
- # Please install GRLDR boot strap code to MBR with the bootlace.com
- # utility under DOS/Win9x or Linux.
- #
- # It must be UTF-8 encoding for multi-lingual support. Font lines can be
- # appended to the file. The font lines should be in the unifont.hex format.
- color blue/green yellow/red white/magenta white/magenta
- timeout 5
- ## menu border color
- color border=0xEEFFEE
- ## set vbe mode
- graphicsmode -1 640:800 480:600 24:32 || graphicsmode -1 -1 -1 24:32
- ## loading splashimage
- #splashimage /boot/grub/splashimage.xpm || splashimage /boot/grub/splashimage.bmp
- default /default
- ## Menu AutoNumber
- write 0x8274 0x2001
- title Boot Windows from latest Hard disk
- rootnoverify (hd-1,0)
- chainloader /bootmgr
- # In the end, font lines for unicode chars in unifont.hex format.
- # It should include all unicode chars used in the above menu code.
- # Surely normal ASCII chars are not necessary to be included here.
- 5173:10100810082000003FF8010001000100FFFE010002800280044008203018C006
- 542F:010000801FFC1004100410041FFC10001000100017FC24042404440487FC0404
- 673A:100011F011101110FD10111031103910551055109110111211121212120E1400
- 91CD:001000F83F000100FFFE01001FF011101FF011101FF001003FF80100FFFE0000
然后就可以用这张TF卡启动Gen8了,启动后会先显示grub4dos的启动菜单,5秒钟没有动作后会自动从第一个菜单项“Boot Windows from latest Hard disk”启动进入光驱位硬盘中的Windows;不管hd1-hd4有几块硬盘,只要从这个TF卡启动,都会转向到最后一块硬盘也就是光驱位的硬盘启动。
软件
17年,尝试在HP Gen8 Microserver中直接安装Hyper-V Server 2012,而不是用完整的Windows Server 2012。同时使用另一台Windows远程管理Hyper-v Server。大致流程和关键细节记录如下:
-
用PE里的windows安装器把Hyper-v Server安装到SSD中
-
将Gen8 Sata5引导镜像写入一张SD卡,然后插入,SSD放到sata5。启动系统
-
进入系统,做基础配置和更新
-
关闭防火墙
netsh advfirewall set allprofiles state off -
建立用户账号
-
开启共享物理硬盘
net share c=c:\ /grant:用户名,full方便配置。这样可以读写物理硬盘 -
删除共享
net share f /delete -
管理机Server 2012系统建立同样的用户账号,并在hosts中将ip绑定给名字。此时即可在Windows Server 2012 系统的Hyper-v管理器管理Gen8上的Hyper-v Server
-
如果使用了sd卡以引导sata5硬盘,先禁用sd卡。把devcon拷贝到c盘,运行命令
devcon find *查找所有设备,从中找到HP iLo……sdcard,复制其前面冒号前的内容。继续运行devcon disable "@上一步的复制内容" -
如何在Hyper-v server中将物理硬盘脱机
cmd diskpart list disk select disk 1 offline disk/online disk -
最后关键的一步是调整网卡设置,提高网络性能。刚装好后,虚拟机和物理机网络连接会很慢。核心原因是物理网卡高级属性里的vmq被开启,和gen8上的博通网卡不兼容。需要关闭。
定位注册表:HKEY_LOCAL_MACHINE\SYSTEM\CurrentControlSet\Control\Class{4D36E972-E325-11CE-BFC1-08002BE10318}
接下来一一展开每个子项
如\0000\Ndi\Interfaces、\0001\Ndi\Interfaces
查看LowerRange字符串值是否为ethernet
如果是,回到000项上在右侧找vmq,由1改为0即可,注意总共需要改2个000*中的vmq开关。
保险起见,hyperv管理器里为各虚拟机的网卡设置关闭vmq。至此应该完美。
-
但是由于没有图形界面,以上操作可以用远程注册表关闭。以下操作在管理机server 2012上实现。
- 控制面板-凭据管理-添加gen8上hypervserver的用户账号密码,以实现在管理机上远程连接windows的mmc。
- 运行-mmc,文件-添加或删除管理单元,添加服务,选定gen8或其ip作为目标。
- 此时在控制台左边出现gen8上的服务,开启Remote Registry Service
- 管理机打开regedit注册表,文件连接远程注册表,选gen8.
-
TODO:如何实现win8.1作为管理机,目前存在的问题为win8.1在hyperv管理器连接后总提示rpc服务未开启的错误。
或使用专用的Hyper-v管理软件5ninemanager。
本作品采用 知识共享署名-相同方式共享 4.0 国际许可协议 进行许可。